- In the Admin panel, select the Trade point where the Printer will be configured.

- In the Admin Panel, go to Settings – Devices, click Add

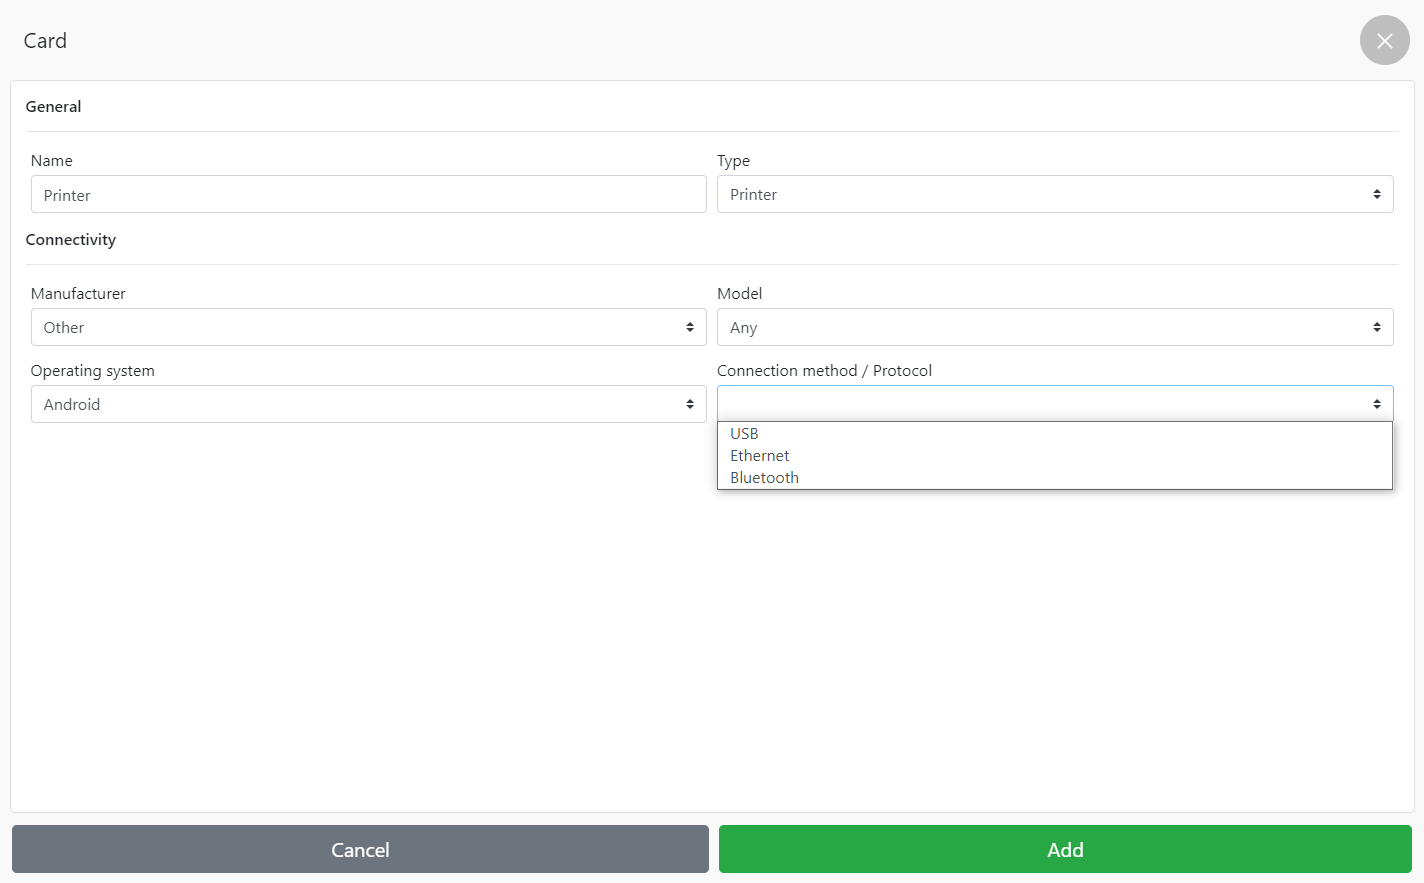
- In the “General” block, fill in the following fields: Name of the setting, for example, the printer model;
- Type – select a printer;
- Manufacturer / Model – your Printer model;
- Operating system – Android;
- Connection method – choose one method USB/ Ethernet/ Bluetooth
- 1
USB connection
- In the “General” block, select the connection method – USB

- In the block “Connection Settings” :
- In field USВ – select the adapter of your printer (several pieces may be displayed)

- Click test print
- After printing successfully, click Add
- 2
Bluetooth connection
- In the “General” block, select the connection method – Bluetooth

- In the block “Connection Settings“:
- In field Bluetooth – select your printer (several pieces may be output)

- Click test print
- After printing successfully, click Add
- 3
Ethernet / Wi-fi connection
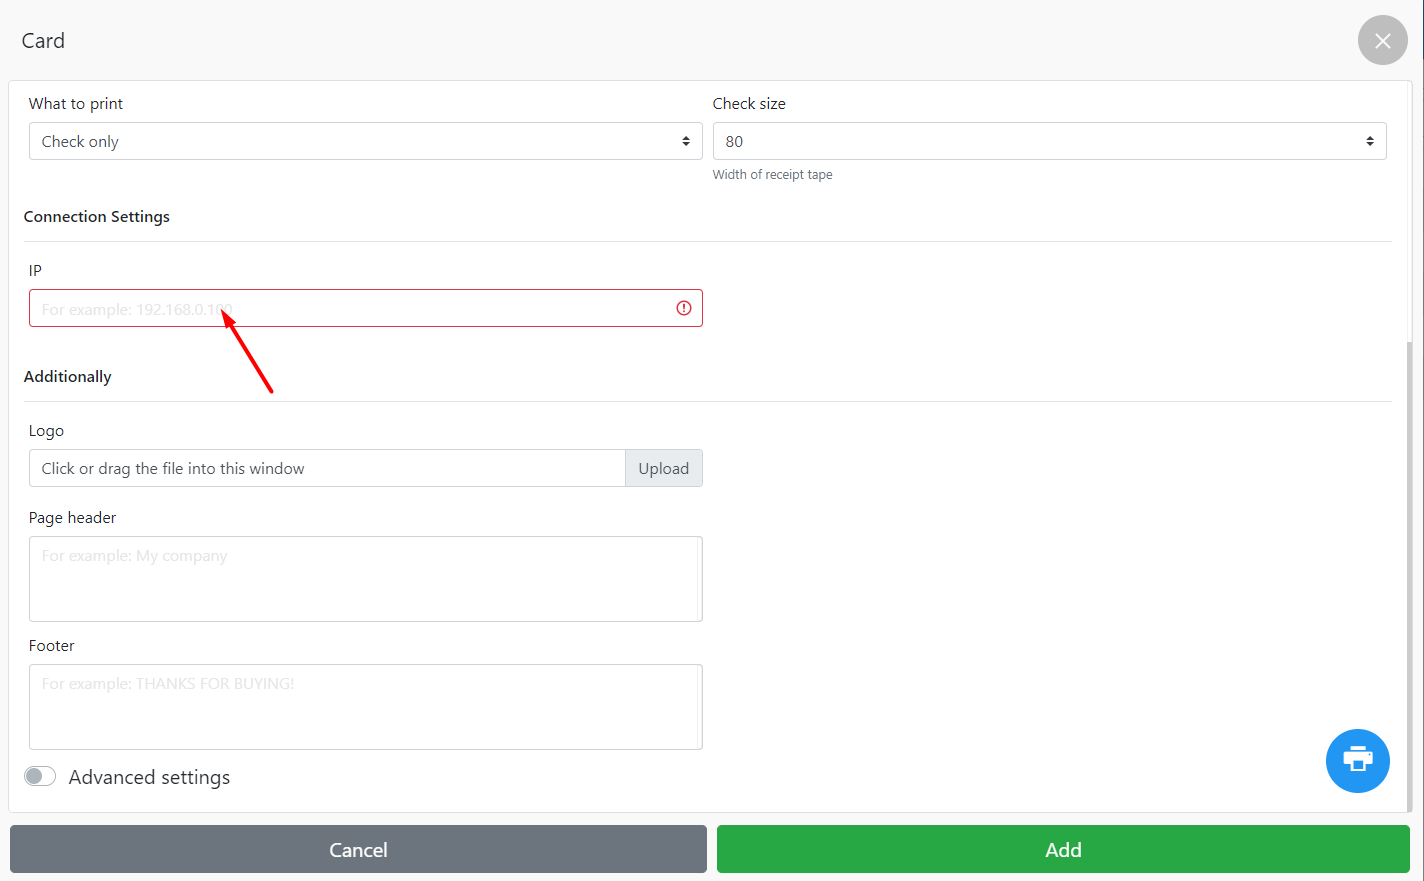
- In the “General” block, select the connection method – Ethernet

- In the blok “Connection Settings” :
- In the IP field, enter the IP address of your printer, for example 192.168.0.100.
- The IP addresses of the printer, router, and devices that will print to it must be on the same subnet.
- Click test print
- After printing successfully, click Add
- 4
Check template
After successfully setting up the printer, you can customize it for your tasks and design.
- 4.1
The main
- You can choose what to print on the printer –
- Check only;
- Check and Invoice;
- Invoice only;
- Labels only;
- Invoice and Preces;

- Select the required size of your printer’s receipt (you can view it on the printer sticker, or view it on the manufacturer’s website)

- 4.2
Additionally
- You can upload your logo to the receipt by clicking on the “Upload” button (check with the manufacturer for logo printing support)
- Also, you can add additional information to the check, such as the name of the company (restaurant, coffee shop), address, Wi-Fi password, by filling in the “Header and Footer” fields.

- To display the block “print parameters, dimensions” click on the switch opposite the “Advanced settings” field

- 4.3
Print options
- If your printer does not support printing in text / graphic mode, you can change it in the “Printing Mode” field

- If you have selected the text mode of printing, and the receipt is printed in hieroglyphs, then you need to check with the manufacturer whether the printer supports printing in Russian (Cyrillic), and check if the Chinese mode is enabled (screenshot below)
How to do Self Test?
- Steps to print Self Test page:
- Insert paper into the printer.
- DO NOT turn on the printer, hold down the FEED button on the printer.
- While holding the FEED button, press the printer power button as soon as
- red and blue LEDs light up – release the FEED button.

- If you have Chinese mode enabled, you must disable it.
- Check the character and code page on the printer’s self-test, and change the “Encoding” and “Page Code”, the following values are most often used:
- CP1251 [Cyrillic] and page code 17, 73;
- CP866 [Cyrillic] and page code 17, 73.

- 4.4
Dimensions
- You can change the size of the receipt in pixels (for fine adjustment of the print area width)
- In the “Font size” field, select the required size.

- 4.5
Indentation
- Set check indentation margins (optional) –
- Scrolling from the top;
- Scrolling after check;
- Left indent;
- Indent to the right.